Mortar plays a critical role in brick buildings’ structural integrity and visual appeal. As time passes, weathering can wear down mortar joints, affecting buildings’ visual charm and stability.
To uphold and restore the appearance of masonry, one essential technique comes into play: Tuckpointing.
What is Tuckpointing?
Tuckpointing has been around for years, having been invented in the 1700s in Europe. It involves using two different shades of mortar to fill in the mortar joints of brickwork and blend them seamlessly. This is not to be confused with repointing, which is the actual repairing of the mortar joints.
This process involves creating mortar that matches the bricks so that it will blend seamlessly. The other color used is different and is made for the appearance of the mortar joints. This is a skilled job for an experienced mason, as it involves blending the mortar so a casual viewer cannot tell that the repair has been done.
How to Tell When Tuckpointing is Needed
When considering if your home or your commercial business needs tuckpointing, it is important to pay special attention to cracks and color changes in mortar.
To summarize, here are some of the most common signs that a building may need tuckpointing:
- Color changes
- Mortar will change color as it deteriorates. Typically, mortar in good condition is a bright beige, so anything other than that can mean deterioration.
- Flaking or peeling
- Deteriorating mortar will flake or peel and is very easy to notice. When mortar starts to separate from bricks, it means that the mortar is no longer able to provide support. This is a safety issue.
- Cracks in bricks
- Cracking or crumbling bricks can be caused by several reasons, however, faulty mortar can be one of those. If you see cracked or crumbling mortar or bricks, this is not something you should ignore. If left untreated, these small cracks can cause more severe damage.
How Long Does Tuckpointing Last?
Mortar usually remains in good condition for 20 to 30 years before requiring maintenance. A skilled mason should examine your building’s exterior to identify when tuckpointing might be needed. Even if there’s no immediate requirement, it’s crucial to prepare and set aside funds for future tuckpointing needs.
At Graciano, we recommend proactive tuckpointing as a preventative measure, well before the signs of masonry or brick wall deterioration become evident. Often, the early signs of mortar damage are not easily noticeable to the untrained eye, which is why it’s essential to have our experts evaluate your structure’s condition.
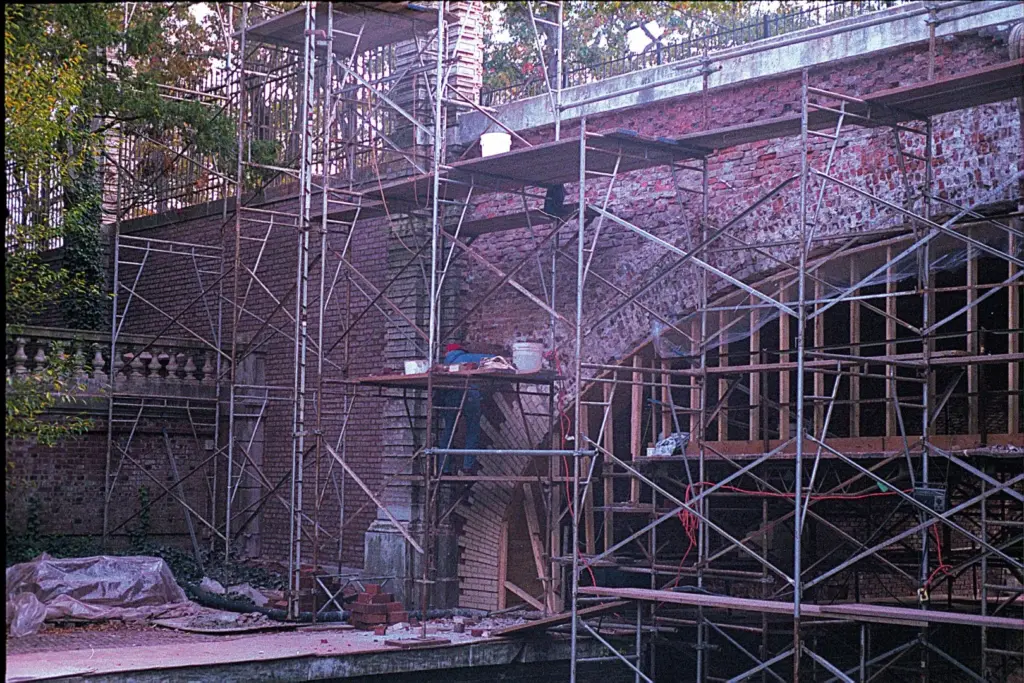
For older masonry buildings, it’s important to tuckpoint mortar joints. Historically, these structures lack the modern air gaps and vents that help prevent moisture accumulation. Tuckpointing also helps improve the appearance of older buildings, keeping them restored and beautiful for years to come.
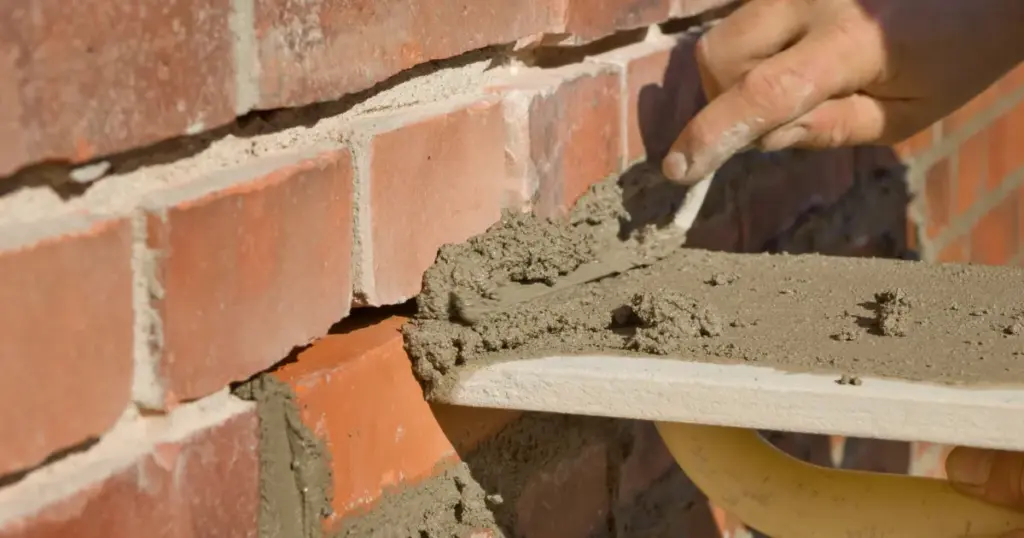
The Tuckpointing Process
Tuckpointing is a meticulous and labor-intensive process, often necessary to maintain the aesthetic appeal of brickwork. Given the potential costs associated with extensive mortar damage, we recommend adopting a proactive approach to minimize the need for future repairs. When tuckpointing is necessary, however, these are the steps in the process:
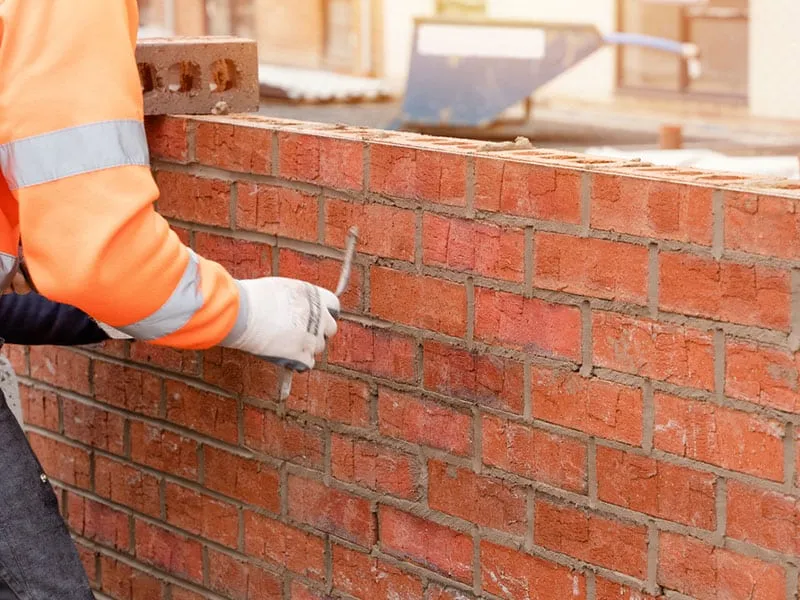
1. Removal of Damaged Mortar
The tuckpointing process begins with the careful removal of damaged or deteriorated mortar. Masons typically employ tools such as routers or grinders for this purpose. During this phase, the use of personal protective equipment is crucial.
Masons wear respirators, goggles, and face shields to protect against the inhalation of fine dust particles and other hazards associated with the grinding process. Dust suppression systems may also be employed to reduce further the risks associated with airborne particles.
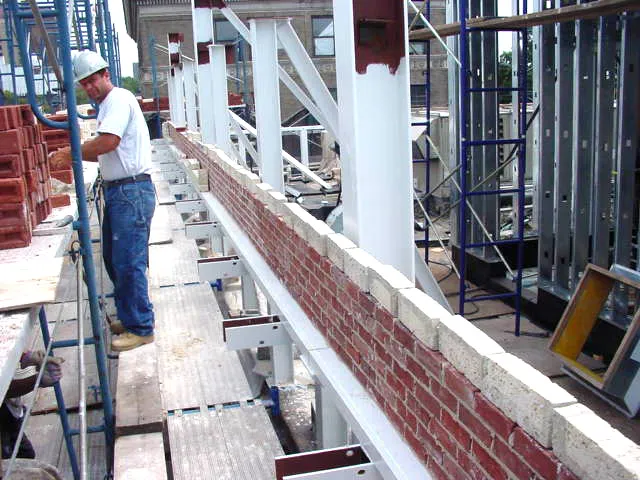
2. Apply New Mortar
Once the old mortar has been removed, a new mortar that closely matches the color and texture of the existing brick is applied to fill the cleaned-out joints. This is followed by the precise cutting of thin strips within the newly filled joints to create uniform grooves.
3. Apply Finer Mortar
The final step involves the application of a finer mortar into these grooves, blended to match the original mortar color. This method ensures that the restored joints exhibit clean, sharp lines that blend with the original masonry, maintaining the structure’s historic character.
Professional tuckpointing is critical in extending the lifespan of masonry elements such as walls and chimneys. It prevents further damage by sealing out moisture and protecting against the elements.
For those planning renovations or additions to brick or stone structures, it is essential to consult with experienced masons to determine if tuckpointing is needed. Reach out to Graciano today for a free estimate!
End Note
In summary, tuckpointing plays an essential role in preserving old masonry, ensuring the longevity and visual integrity of historic structures. It not only enhances aesthetic appeal but also reinforces the building’s resistance against weathering.
If your historic masonry shows signs of wear, contact Graciano for professional help. With decades of experience restoring antique masonry, our experts can diagnose issues and determine if tuckpointing is the right solution for your building.